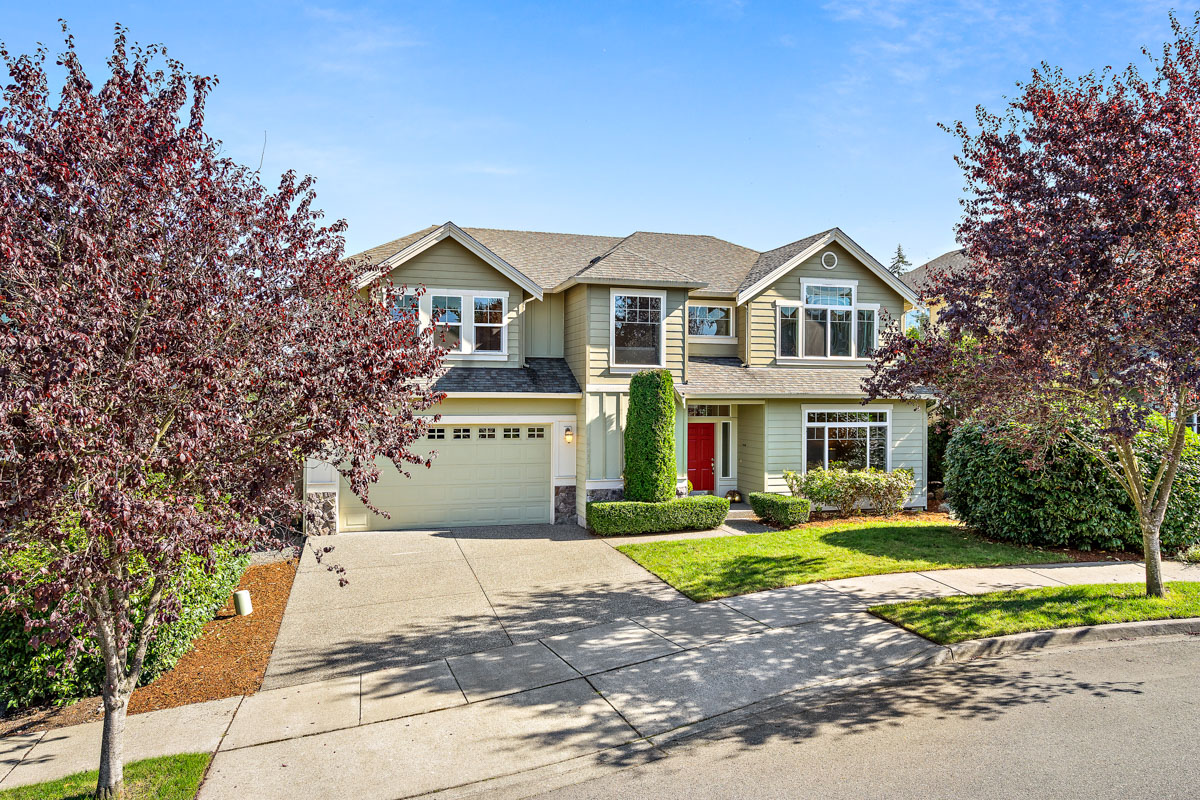
Blue-Sky Replacement can be very tricky and there a few different ways you can do it. The easiest way I’ve found is to get a blue sky photo, I just googled “blue sky”, and follow these steps:
- Place that image on top of the one you want to get replaced as a layer in photoshop.
- Set the opacity of the bluesky layer to around 50% so that you can see and move it around to line it up on the bottom (photo) layer.
- Once you have it where you want double click the blue sky layer and drag the underlying layer slider (bottom of blending style) from left to right.
- You’ll be able to see the blue sky disappear until it’s essentially gone.
- You want to find the point where you have the sky covering the old one and there may be bits and pieces of the photo that need to be masked out.
- Click okay and add a layer mask.
- Get a black brush set to hard and 100% flow/opacity to color over the remaining parts of the photo that aren’t part of the sky.
Note that this works best when the sky is completely blown out and white. It may take a couple times to get perfect and if you’re drawing straight lines over rooftops or windows – press a starting point to paint and hold shift then press along the other end of where you want the straight line.